Posts

Showing posts from July, 2013

A billion things you could do with a pallet, what do you think I'm creating?

Image
I found a few pallets and had some ideas in mind and I'm just now getting to one of them...2-months later!  I shaved the back side off of this one so it wouldn't be so deep and I cut off a few slats so it wouldn't be so wide.   I sprayed some primer on and then painted each slat a different color. I used the paint samples from lowes that were 2.96 a piece.   Of course I'm planning on using this in the playroom for bags, dress up outfits, and much more.   I think I may add some hooks on the lower end as well. I'm so happy with this piece.  Stay tunes for more pallet projects to come....
Vintage Sports Room in the works

Image
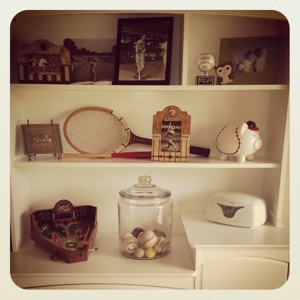
I am still trying to decorate Konner's room in the "Vintage Sports Theme", it's taking a while because I am very picky about what Vintage Sports items I will put in his room. Here's what I've got so far but like I said, " in the works" so on far from done.

Picture Wall

Image
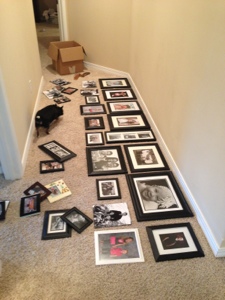
I decided in our new home I wouldn't put family photos throughout the entire home  but instead limit them to just one area! Since we have the space and a large hallways upstairs I found the PERFECT WALL to make my "PICTURE WALL"  I used a very odd method but it worked out so great I've used it again and always will if need be... First I laid all pictures on the floor, this was the hardest part...placing them in the correct spot to make a perfect rectangle.   It took me forever but after about an hour I got it!  As you may tell In the last picture I changed the placement more... I started with the right side pictures top to bottom, then to continue on and get them exactly how I had them on the floor without the annoying measuring, I used a special tool that was right across the way in my sons room " DESITIN" Diaper rash ointment!  Hmmmmmm, well....it was the closest thing I could find and I just squeezed some out on my finger, put it...

Don't be afraid!

Image
I loved this cheap round mirror the way it was but I've changed everything in my house to a blue or white to brighten it up so I was afraid to do this but I had to keep telling myself " don't be afraid!" Lol and I just DID IT! I just used a gloss spray paint and it looks great :). Before and after pics!  A few after I posted this and hung my mirror I made a lil change to the mirror. (Last pic)

Do-it-yourself curtain panels

Image
I decided to make more window panels since I can never find any that I like!  I had a vision for my dining room of bright white extra long panels, I went to Penney home store and got 95" panels brought then home and they just weren't long enough to have any pull ( dragging on the floor) so I went to our local fabric store and found a very pretty burlap in the shade that I've been leaning towards! In my dining room I have a 9' ceiling so I needed 108" plus 6" more for a 3" hem on each end and at least 3" of pull which means I needed 117" total per panel.  I originally had spent about $60 on a rod and jcp panels, which was super inexpensive because it was all on sale. After I returned everything, bout two white rods $1.00 a piece and the fabric I ended up only spending $22 to make my dining room look fabulous!  All I need now is a new pendant light so I will post updated pics at a later date. :). Thanks for reading.  ...

Painted mason jars

Image
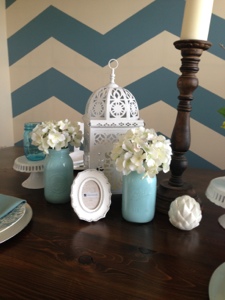
Oh how I've been wanting to do this FOREVER! I didn't want to make the paint do I've just slacked a bit, however, I was at a very small local antique shop and saw the ALREADY PREPARED paint YAYAYA! Super simple just use any mason jar or any type of glass container for that matter and just add a little bit of your paint and just hold it up and turn it and move it to where the paint coats the jar!  Don't worry about the rim because you will just turn the jar upside down to let all the excess drain out and it will coat the rim!  One small tip:  when turning upside down to drain place on something that you can drain the excess paint back into your paint container. Try not to use newspaper because it will rip and soak it up...you'll be surprised how much comes out and can be used on another fabulous project.  

Chalk board wall

Image
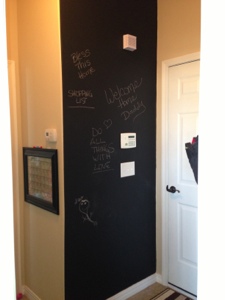
I know this has been a popular home finish fir a while and even know I love taking decorating chances I really WAS scared to do a chalk board wall.....and of course it turned out just as I wanted!